Windows Subsystem For Linux (WSL)
Command-Line
You can jump into the WSL by typing wsl inside a Windows terminal:
wslIt will jump into the WSL and set the current working directory to the same directory as in Windows, e.g. if you were in C:\Users\username\ in Windows, when you type wsl it will land you at /mnt/c/Users/username/.
VS Code has an extension for WSL. It allows you write/run code inside WSL whilst editing in VS Code running in Windows (i.e. the same way VS Code supports remote development).
From inside WSL, if you type the command code ., it will open at VS Code in Windows and setup a remote development session into WSL at the current working directory.
wsl --shutdownMust be run from terminal with Administrator privileges:
wsl --upgradeYou can set the default distribution with:
wsl --set-default <distro-name>The default distribution is the one which will load if you just type wsl at the command-line in Windows.
Upgrading From WSL 1 To WSL 2
If you first enabled/installed WSL a long time ago, you might be running WSL 1. WSL 2 is a big upgrade over WSL 1 — WSL 1 used a “wrapper” to convert Linux system calls into Windows calls, whilst WSL 2 features a full Linux virtual machine (similar to VirtualBox).
Passing Through USB Devices
WSL 1 and 2 do not natively support USB pass-through like VirtualBox does. However, there is a popular 3rd party tool called usbipd-win which can do the job. There was a update to WSL 2 to allow usbipd to work without too much hassle.
Windows software for sharing locally connected USB devices to other machines, including Hyper-V guests and WSL 2. — usbipd-win.
The first thing you have to do is “bind” the USB device to usbipd. This needs to be done on the Windows host from a command-line with Administrator privileges:
usbipd bind --busid <busid>You can identify a device either with a busid in the form <number>-<number> (e.g. 9-4) or a hardware-id in the form <VID:PID> (e.g. 0483:df11).
You might get the error “Loading vhci_hcd failed” when trying to attach a USB device from the Windows host, like shown below:
usbipd attach -w -a -b 9-4usbipd: info: Using WSL distribution 'Ubuntu' to attach; the device will be available in all WSL 2 distributions.usbipd: info: Loading vhci_hcd module.usbipd: error: Loading vhci_hcd failed.One thing to try is to manually load the module inside WSL. From within your Linux distro, run:
sudo modprobe vhci_hcdAnd then try to attach the USB device again.
If you want to use the USB device in Windows again, you can use detach to detach the device from WSL:
usbipd detach --busid <busid>usbipd: error: Loading vhci_hcd failed
After using WSL for a while, I started getting usbipd: error: Loading vhci_hcd failed. errors when trying to attach a USB device into WSL (when running the usbipd attach ... command). Running sudo modprobe vhc_hcd inside WSL fixed the issue. But this was still a pain because I had to run it every time I started up WSL again. To make it persistent, I added command="modprobe vhci_hcd" to my /etc/wsl.conf inside WSL (which already contained systemd=true):
[boot]systemd=truecommand="modprobe vhci_hcd"Installing Chrome on WSL
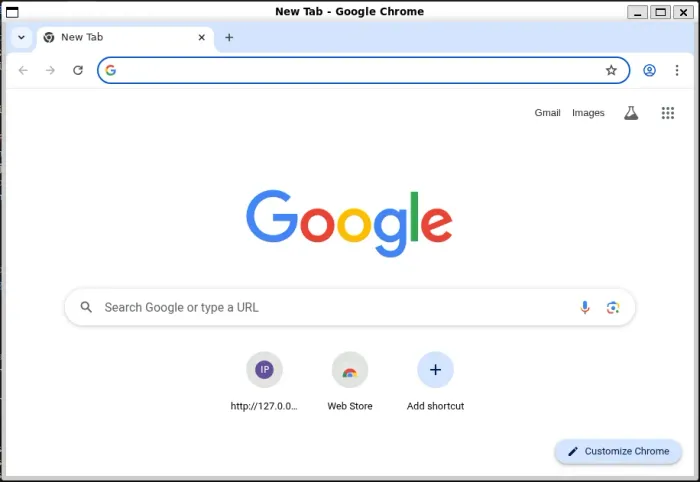
You can install Chrome on WSL by running the following command:
cd ~/tmpwget https://dl.google.com/linux/direct/google-chrome-stable_current_amd64.debsudo apt -y install ./google-chrome-stable_current_amd64.debYou can then run Chrome by typing google-chrome in the terminal.


