

 NinjaCalc
Prototyping

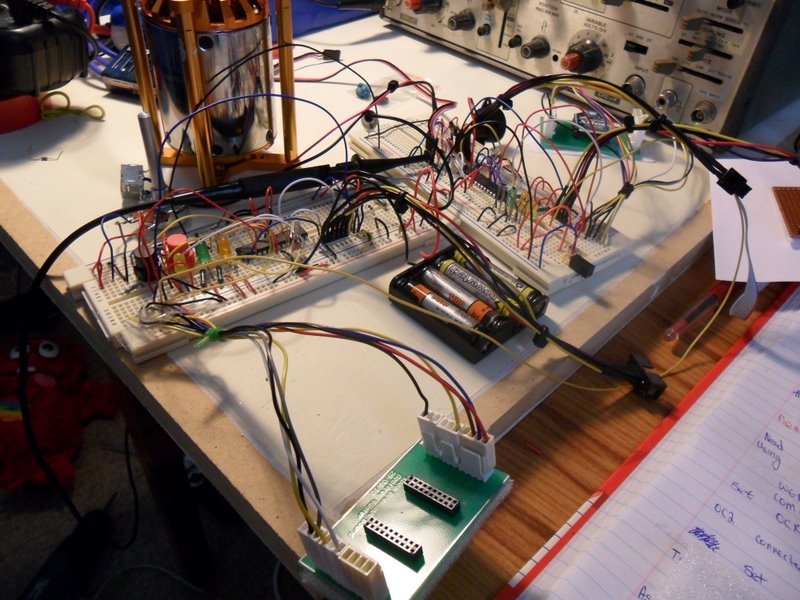
PCBs are costly and take time. Complex ones even more so. Even the best PCB designers make mistakes. Prototyping is the building and testing of any circuit before the point where the designer considers the design finished and tested.
You may wish to build up a small prototype circuit on stripboard of the analogue signal processing/amplifying circuitry in the design, or of this custom digital multiplexor, before making a proper PCB.
Try and use development kits wherever possible.
Grid Generators
If using stripboard, perfboard, or any other type of pre-made, drilled, copper-tracked PCB for building prototype circuits on, it can be useful to sketch out the component placement and electrical connections before committing to soldering.
A great tool for sketching this out is a printed out paper design which reflects the PCB layout. http://incompetech.com/graphpaper/ has some great grid generators that you can print out.
Stripboard
Stripboard is pre-made PCB with strips of copper running in one direction. It is a great way to prototype circuits without having to make a PCB. The strips can be cut with a knife or drill bit to break the copper tracks where needed. It is usually faster and more convenient to use than perfboard because of the pre-built connections.
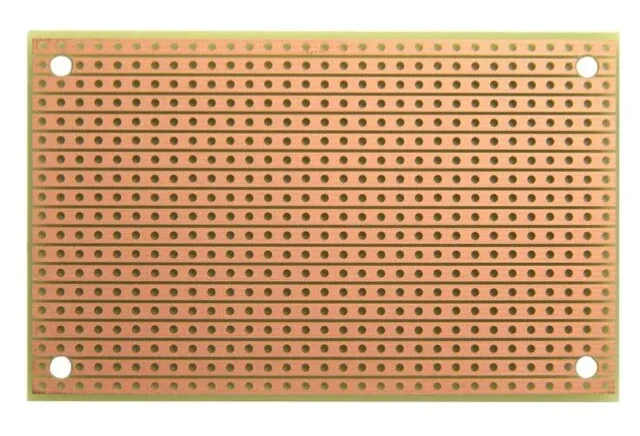
Although stripboard is made for through-hole components, you can also somewhat easily solder simple SMD components like chip resistors and capacitors to stripboard by placing them on the copper side across the gap between the two adjacent tracks. This works for chip sizes down to about 0402.
ICs in the DIP package suit stripboard particularly well, as the 0.1” (2.54mm) lead pitch matches the hole pitch exactly and each row of pins lands on its own strip, requiring no breakout PCB.
The stripboard prototypes below show what can be achieved:
- The electric skateboard’s first prototype motherboard, based around an ATmega8L-8PC in a DIP package.
- The relay wiring for the Luxcity UV Tonic control system.