Using InstallSheild
This page is all about using InstallShield with Visual Studio projects to create installable setup files for the user to use.
Creating A Single setup.exe
For smaller projects and things that will be downloaded over the internet, you’ll most likely want to create a single file called setup.exe or similar that users can run to install the program. This is not the default way to do things with InstallShield, so you have to configure it to make this happen.
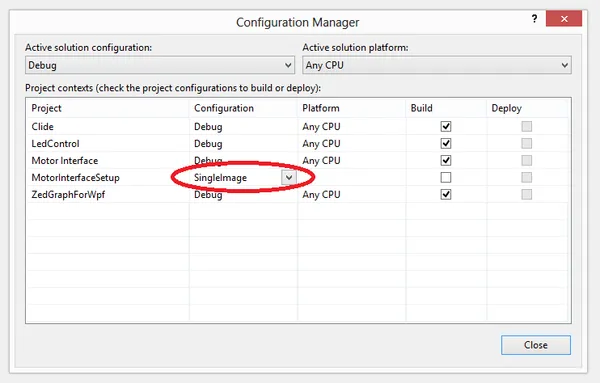
The key part, once you’ve created an InstallShield project in your solution, is to go to the Visual Studio Configuration Manager window and change the build configuration for the InstallShield project to “SingleImage”.

Version Numbers
The product version must follow the syntax aaa.bbb.ccccc where the aaa is the major version number, bbb is the minor version number, and ccccc is the build number. You are limited to a maximum number of 255 (unsigned 8-bit) for both aaa and bbb, and a maximum number of 65,535 (unsigned 16-bit) for ccccc. You can include a fourth field, dddd, but the InstallShield does not use it.
Upgrading From Older Versions
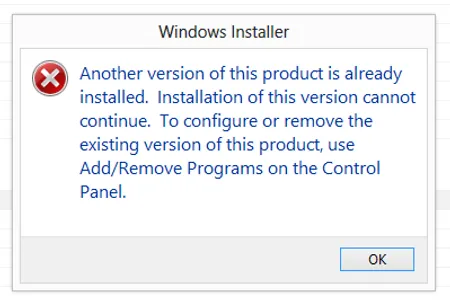
By default, if you try and install a newer version of your install package on a system, the InstallShield will throw the error “Another version of this product is installed. Installation cannot continue.”.

To change this so that newer versions will update or replace files from the older version, you have to make sure of two things.
- You have a upgrade path.
- You generate a new “Product Code” everytime you want the application to update. Note that this is different to the Product Version, which is a smaller, user-generated number (e.g. 1.2.3), rather than the longer computer-generated Product Code.

Using The Command-Line
You can build a release from the command line by using ISCmdBld.exe for both Windows Installer and InstallScript projects.
Non-optional Options
-p “path” | Path to the .ism file you wish to build. |
-r “name” | The name of the release. |
-a “build xxx” | The build configuration. |
Optional Options
| Specify the version number. This is really helpful if you wish to increment the build number automatically! |
Launching Program On Install
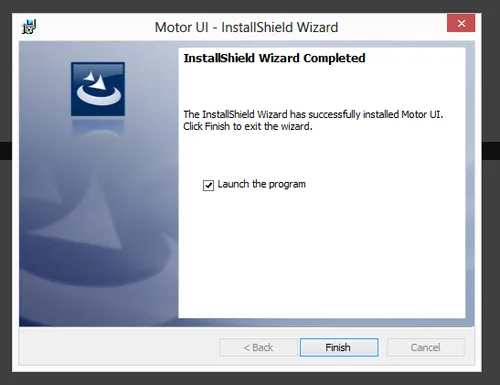
By default, if you select the option to allow the user to launch program on install, the checkbox will not work.


