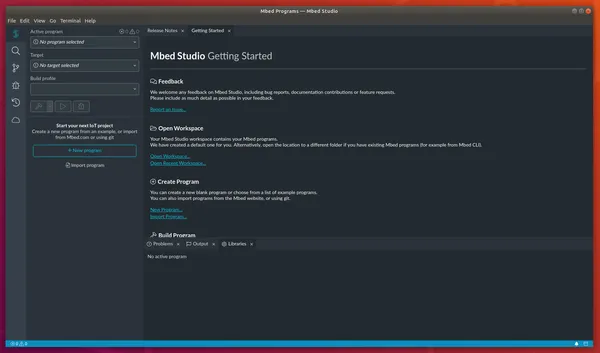
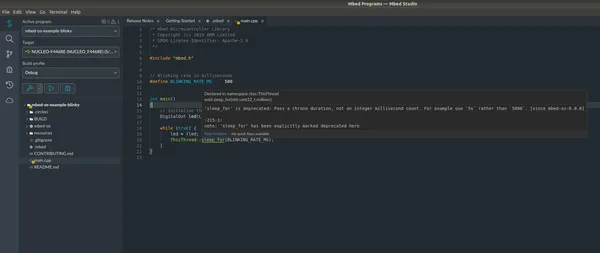
Mbed Studio
Mbed Studio is an IDE for embedded devices. It directly ties in with the firmware framework mbed-os which provides a HAL and RTOS for ARM Cortex microcontrollers. Mbed Studio is based of the Eclipse Theia IDE, which is itself based of Visual Studio Code.
Mbed Studio uses ARM Compiler 6 (as of June 2020).
Installation
Mbed Studio can be installed on Linux, MacOS and Windows.
Default directory for projects is <user-home-directory>/Mbed Programs/<project-name>.
Debugging
For flashing and debugging microcontrollers, Mbed Studio uses the PyOCD library. pyOCD is an open-source Python library for programming and debugging Arm Cortex-M microcontrollers.
pyocd listpyocd gdbserverpyocd pack --find <microcontroller-part-num>Library Manager
With what feels like a breath of fresh air for the embedded community, Mbed Studio comes with a library manager which is designed quite well. Mbed Studio allows you to add libraries to your project via the GUI or CLI (using the mbed add command). The source of the library must be os.mbed.com URL (for open-source, shared libraries) or a git URL (for both open-source shared libraries and private libraries).
Once the library has been added, the code is downloaded into the project directory (with the exception of the large mbed-os, which has the special ability of being able to be shared across multiple projects if desired). A <project-name>.lib file is created in the project directory which tracks the URL and commit hash of library, so that you lock down the version and can reproduce the build exactly. e.g. mbed-os.lib might look like:
https://github.com/ARMmbed/mbed-os/#a2ada74770f043aff3e61e29d164a8e78274fcd4Testing
Mbed Studio and the mbed CLI have built in support for various forms of testing. The have support for the following types of tests:
- Unit tests: These are defined as tests that run on the native development computer (i.e. not on target microcontroller).
- Functional tests: These run on the target hardware.
Unit Tests
All unit tests should be in a UNITTESTS directory in the root of your project.
Mbed uses cmake to drive the building of the unit tests.
Mbed Version Preprocessor Definitions
Mbed provides the following preprocessor #define macros in mbed_version.h:
MBED_MAJOR_VERSIONMBED_MINOR_VERSIONMBED_PATCH_VERSIONAdding Custom Boards
See https://os.mbed.com/docs/mbed-os/v6.0/porting/porting-custom-boards.html.
HAL Support
If you get the pin configuration wrong, Mbed will print an error using printf() at runtime, e.g. if I configured a BufferedSerial and passed in the TX and RX pins in the wrong order:
BufferedSerial debug_uart(PA_10, PA_9); // These pins are in the wrong order, PA_9 is TX, PA_10 is RX (STM32F070 microcontroller)You get the runtime error:
++ MbedOS Error Info ++Error Status: 0x80010130 Code: 304 Module: 1Error Message: pinmap not found for peripheralLocation: 0x8005AC7Error Value: 0xAFor more info, visit: https://mbed.com/s/error?error=0x80010130&tgt=NUCLEO_F070RBAPIs
The mbed-os API is documented with Doxygen-style in-code comments.
Timer
Timers can be used to keep track of periods of time in a precise manner (with typically sub-microsecond accuracy).
Timer timer1;
int main() {  timer1.start()  while(true) {    thread_sleep_for(500);    print("time_us = %i\n", timer1.read_us());  }}
The timer API can be used from within interrupts.
Serial
As of mbed v6.0, Serial has been deprecated in favour of BufferedSerial and UnbufferedSerial.
SPI
SPI(const spi_pinmap_t);Interrupts
Interrupts based of digital pin changes can be created and managed with InterruptIn() objects. For example, to create one for digital pin 5 and then print a message to the serial port everytime the voltage on the pin goes from low to high:
#include "mbed.h"
void callback() {  printf("callback() called!\n");}
InterruptIn interrupt_in = InterruptIn(P5);int main() {  event.rise(&callback);  while(1);}


