iNursery
Stats
| Project Started: | 2013-12-25 |
| Project Finished: | 2013-12-31 |
| Time Taken: | 41 hours |
| Cost: | NZ$166.86 (excluding the chiller/heater which got given to me for free) |
Repo
The code repository for the iNursery can be found on GitHub here.
The Idea
Make a small temperature and light controlled environment for looking after small animals.
The Chamber
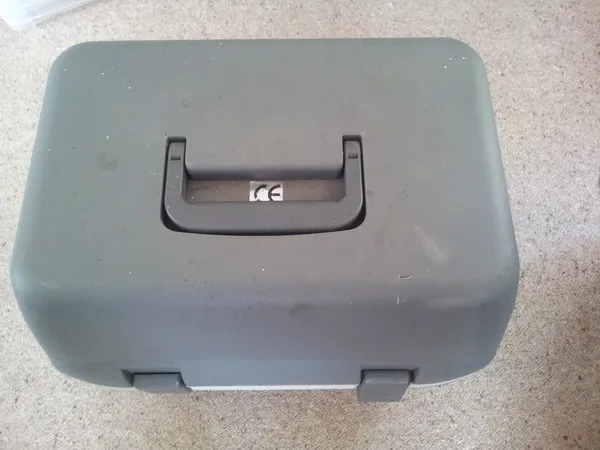
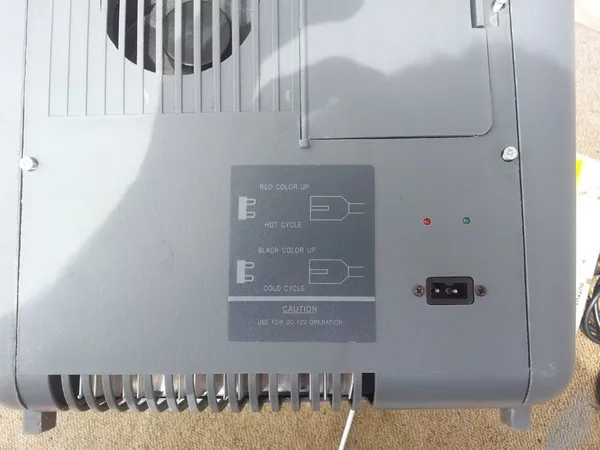
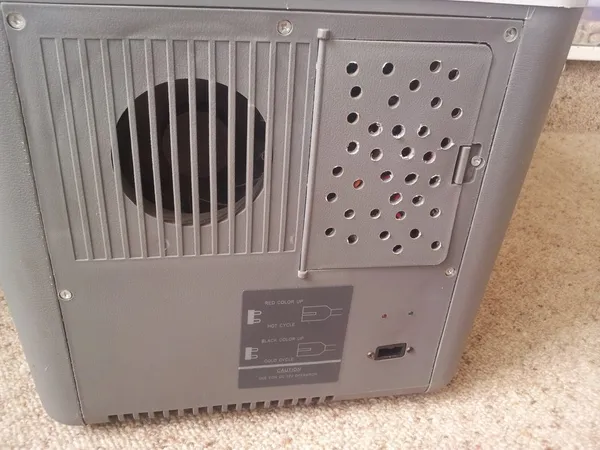
One of my friends had a peltier-based portable automotive (12V) heater/cooler for food/drinks lying around unused.
It can both heat or cool, depending on what way around to connect the power supply plug.
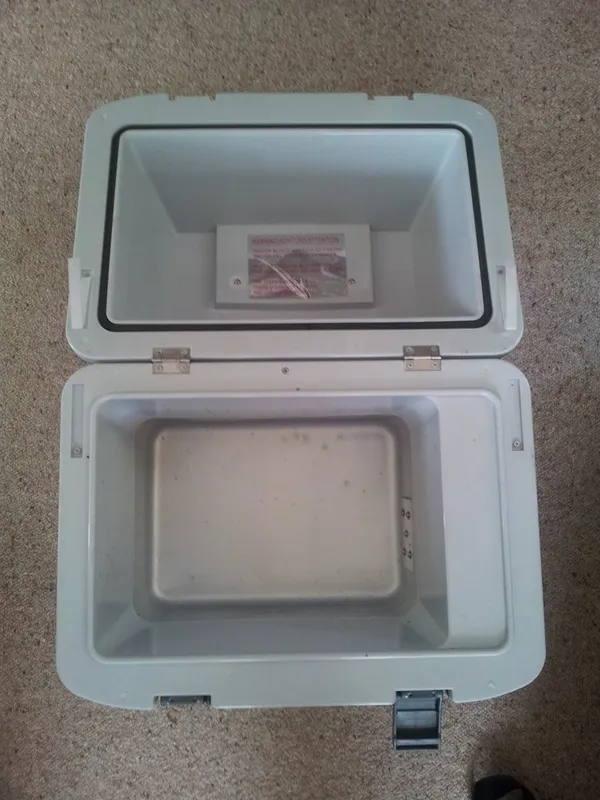
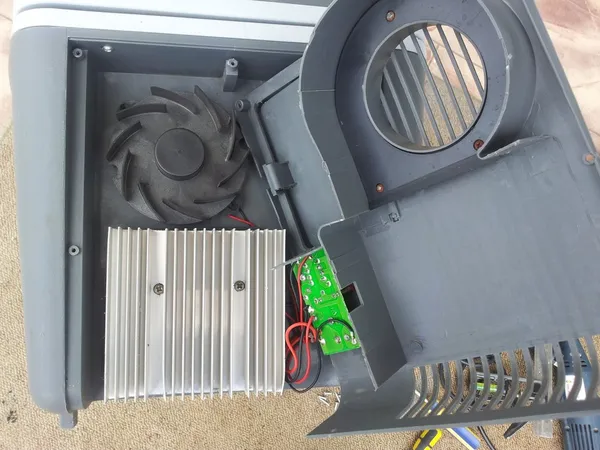
Inside the unit there was a metal base tray which connected to the inside-facing peltier heatsink.
The internal wiring was simple, the input power directly connected to a peltier and thermostat in series with each other (+12V -> peliter+ -> peltier- -> thermostat+ -> thermostat- -> ground).
It seemed to have an temperature-based auto-cutoff when heating (it gave a me an “o shit I’ve broken it” scare the first time it kicked in).
Measuring The Power Usage
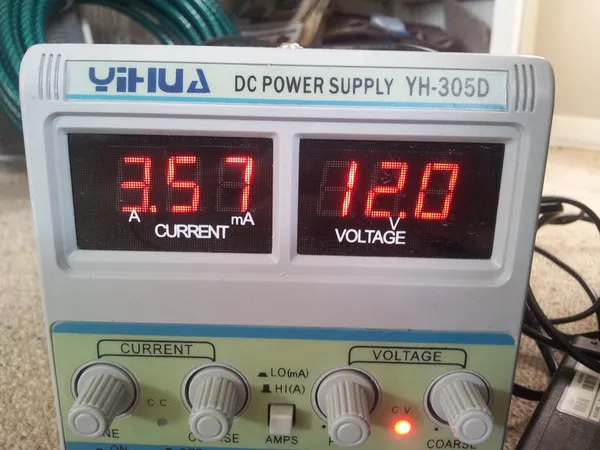
I had to measure the power usage of the heater/chiller to get an idea on what power supply I would need and how serious any additional power electronics would need to be.
Here are the measurements…
| Measurement | Power | Conditions |
|---|---|---|
| Cooling | ||
| Max | Unknown | |
| Stabilised | 12V, 4.20A = 50W | Internal Temp = 12C (ambient = 23C) |
| Heating | ||
| Max | 12V, 4.95A = 59W | |
| Stabilised | 12V, 3.70A = 44W | Internal Temp = 40C (ambient = 23C) |
The Power Supply
I found a 12V, 5A AC/DC power supply from Jaycar that after measuring the power usage of the peltier, seemed suitable for the job.
The Brains
For the brains of the project, I decided to use an Arduino and LCD/button shield because:
- Easy to use
- I already had these parts lying around.
For more on the Arduino, see the Firmware section.
Adding The LCD Screen
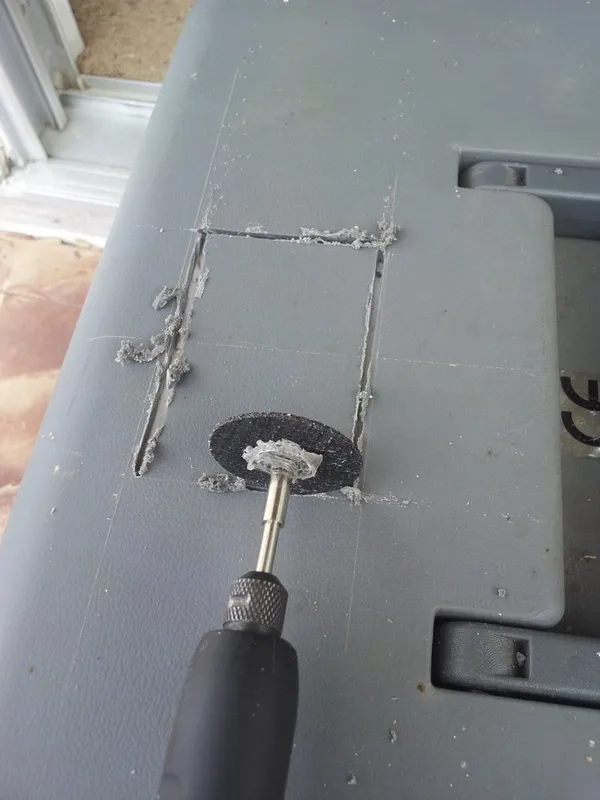
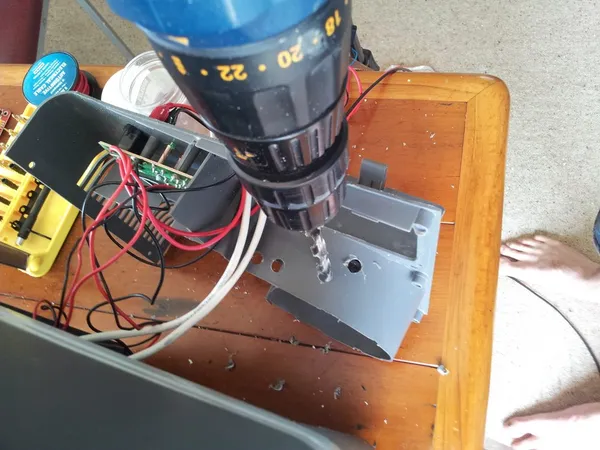
I needed to create space at the top of the heater/chiller for the LCD screen. This meant cutting a hole in the plastic:
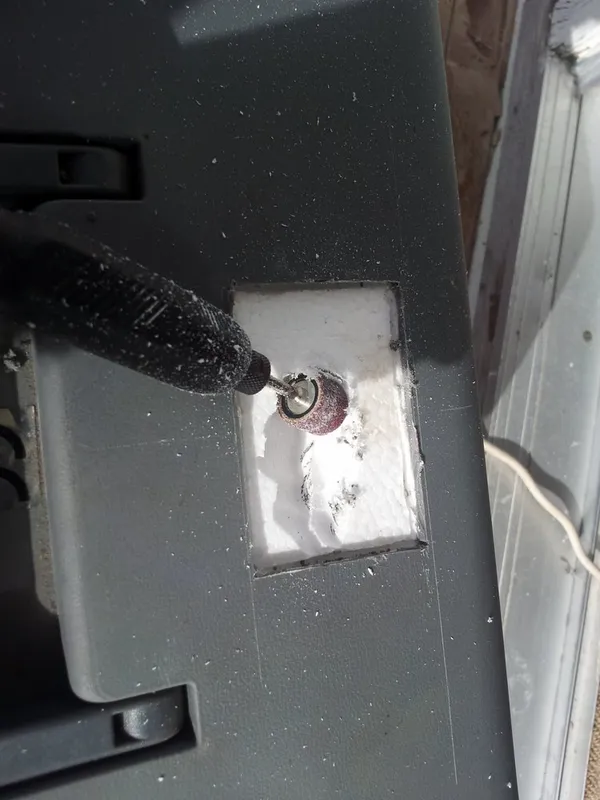
…and removing enough polystyrene below it, so that the LCD screen and Arduino could both fit in there.
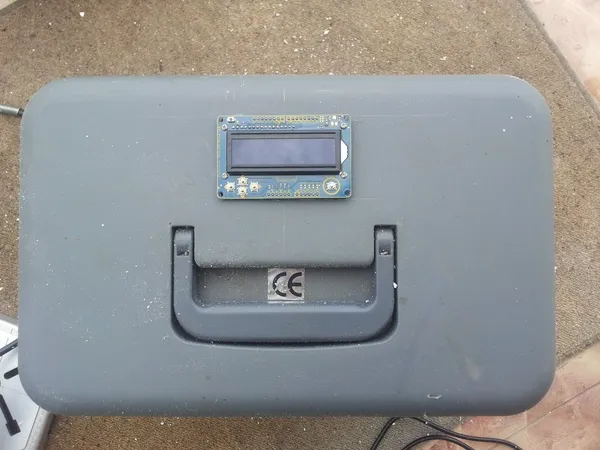
Now to test the fit…
See the UI section for more on the LCD screen.
Controlling The Peltier
I tried a 2A/channel, 2 channel Arduino DC motor driver shield. However, it got too hot, probably because MOSFETs don’t share current well.
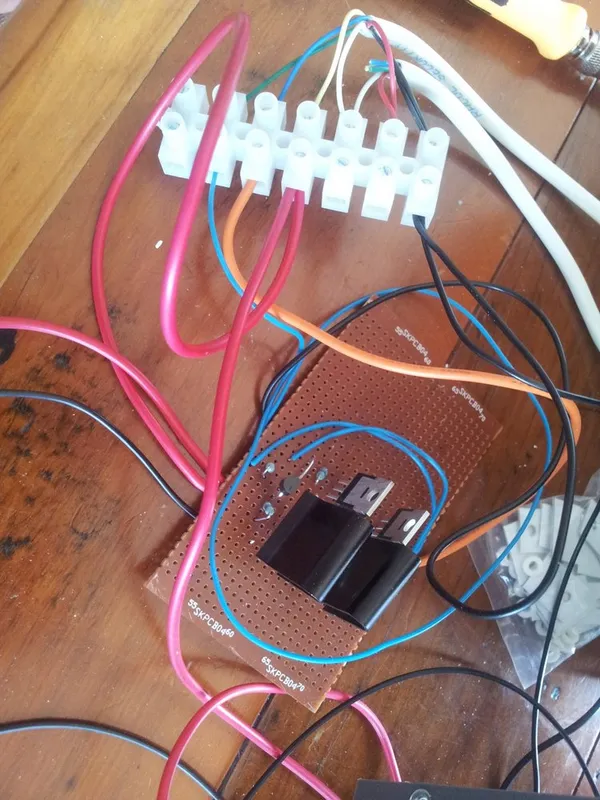
I ended up having to build an h-bridge, which I was not looking forward to, given the lack of success I had when building the electric skateboard.
However, I didn’t run into much trouble! The only real problems was that one of the smaller N-Channels (that drove the power P-channels) had to be replaced, and the P-Channels got quite hot. I’m guessing the N-Channel blew up while I was touching it during installation, as it was a hot and humid day, and I was working on carpet with no grounding protection.
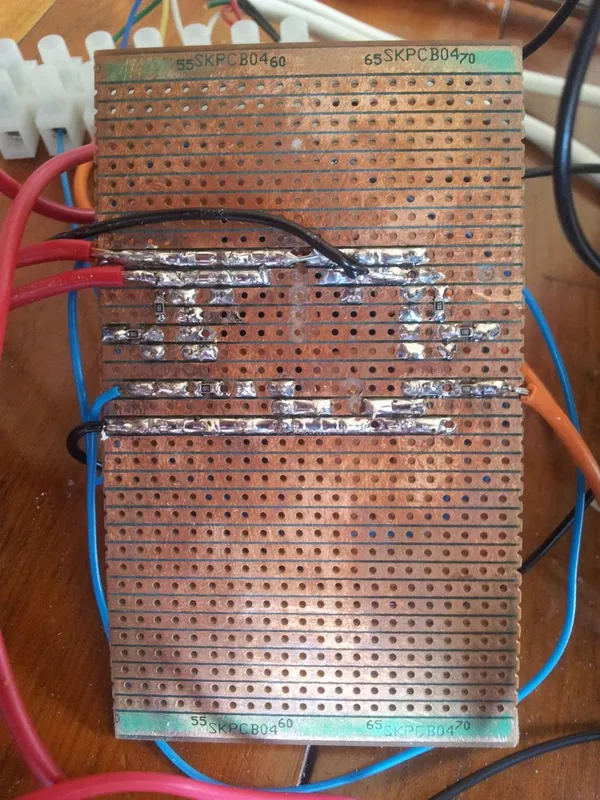
Notice the clip-on black heatsinks for the P-Channel MOSFETs. And the bottom of the finished H-bridge…
I utilized the existing fan on the heater/cooler (that was used to cool the external heatsink), and redirected some of it’s airflow across the H-bridge MOSFETs.
But How To Measure Temperature?
I had some MCP9700E ICs lying around spare. These are linear analogue output temperature sensors, which are extremely easy to interface with a microcontroller. Their equation is:
where:
= output voltage on pin 2 of the MCP9700E
= temperature in Celsius.
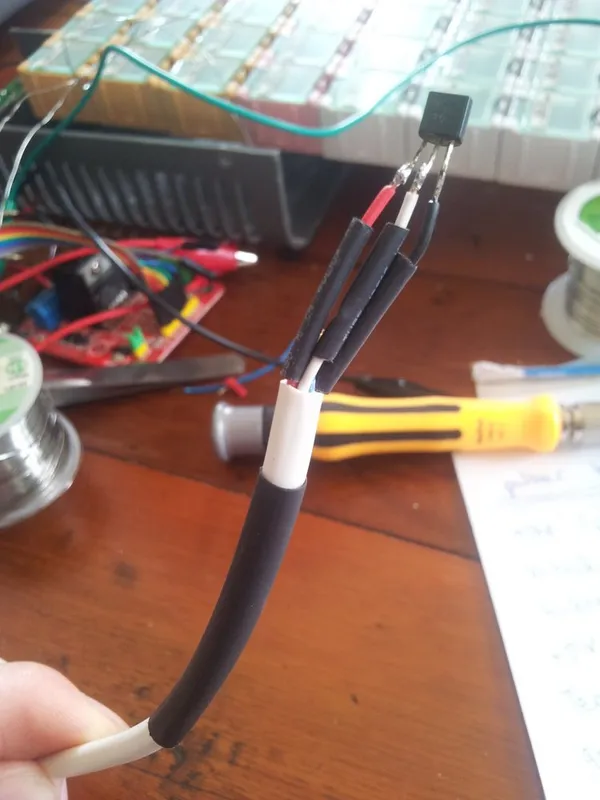
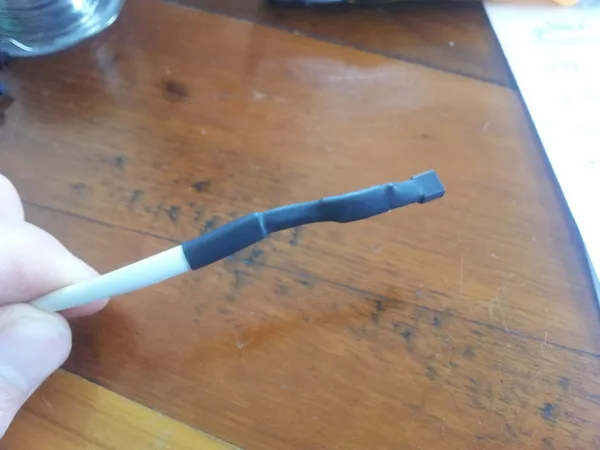
I soldered the IC onto the end of some 6-core alarm cable (only using three of the wires).
And then heat-shrinked it all up to be semi-water-proof and tidy.
Lights!
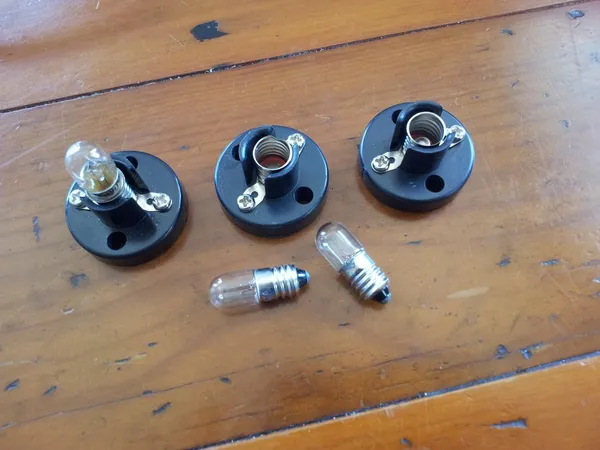
Animals need light, and since the heater/chilled was fully sealed, it needed an artificial light source. I choose traditional tungsten bulbs over something newer such as a LED because they emit a spectra of light which is similar to what the sun emits.
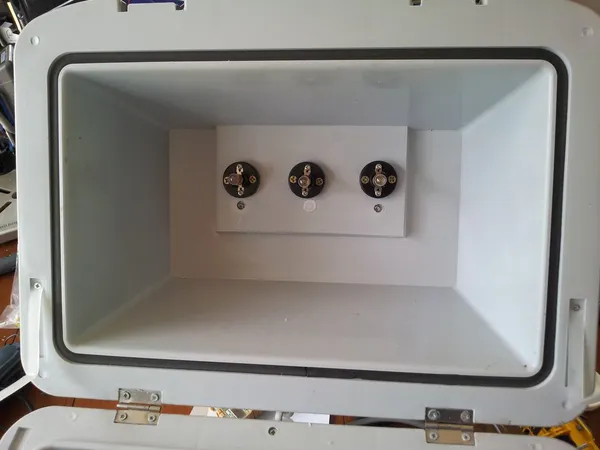
I fixed these three lights to the top of the inside of the iNursery.
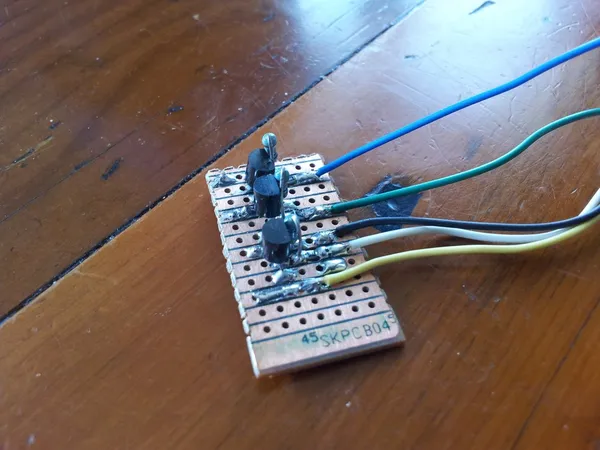
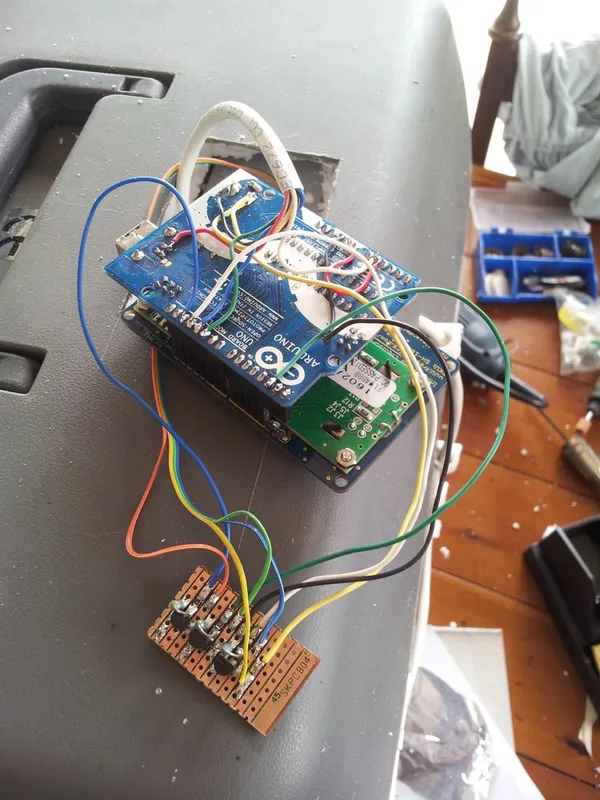
The lights couldn’t be driven directly from the Arduino (100mA is too much current), so I built a small daughter board for the Arduino with three N-channel MOSFETs on it to switch the light-bulbs on/off independently (for light level control).
This was then soldered directly up to the Arduino PCB (there was no room for connectors!).
You could then select how many lights you wanted turned on (these photos were taken at dusk)…
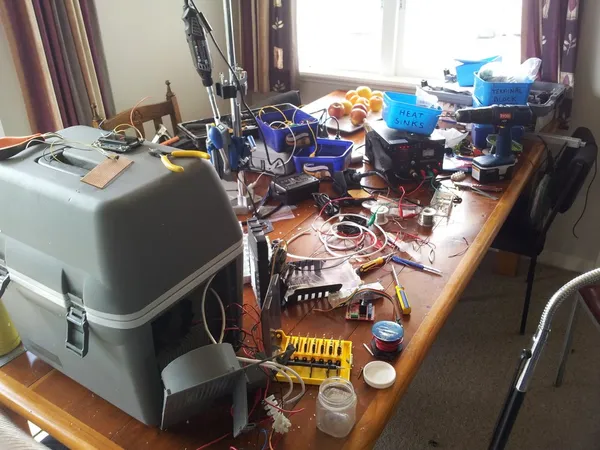
The workshop (a.k.a. dining room table, only because the flatmates were all away :-D) was getting pretty messy by now…
The Pros And Cons Of Breathing
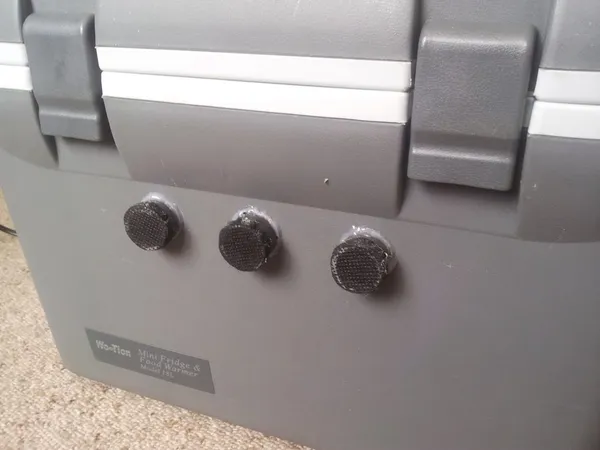
Its not much of a nursery if it can provide warmth and light but not oxygen. And the original heater/cooler was designed specifically to be as air-tight as possible. It even had a rubber seal between the lid and base!
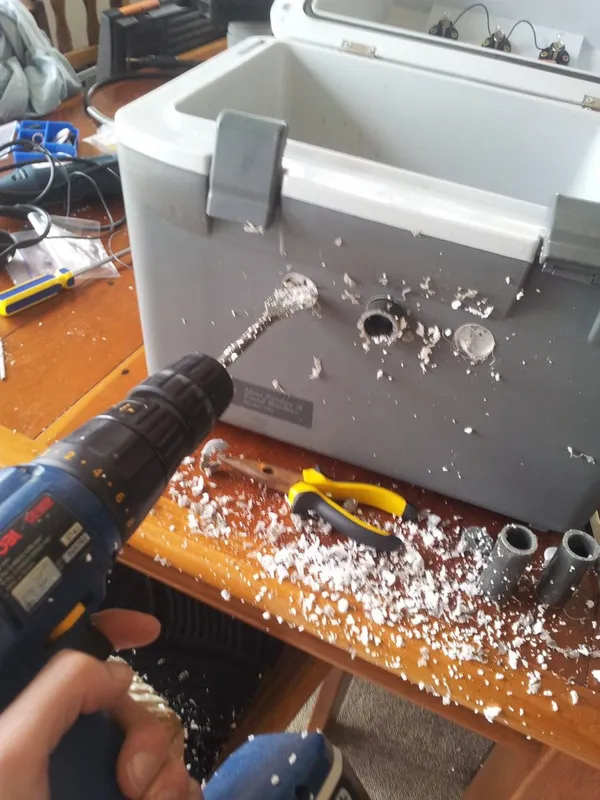
I decided to add three “air-pipes”, which I mounted in the side of the base. I cut 25mm holes the fibreglass pultruded pipe:
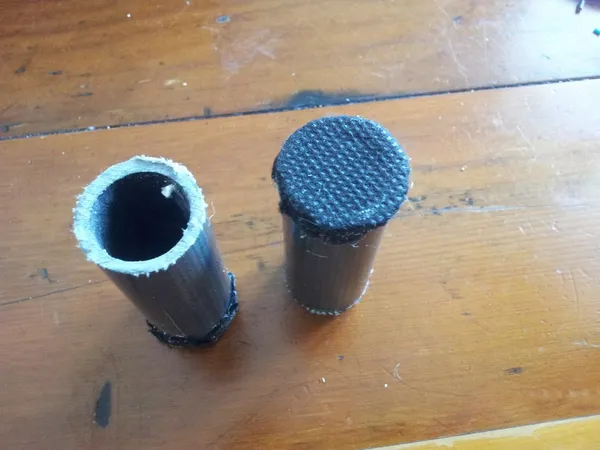
To stop wind from blowing through these pipes and removing the heat or “coldness” from inside, I glued on sections of black weed matting to one end of the pipe. These should hopefully “dampen” the air flow, while allowing enough oxygen for animals inside to survive.
And here are the three air-pipes fully assembled…
The Firmware
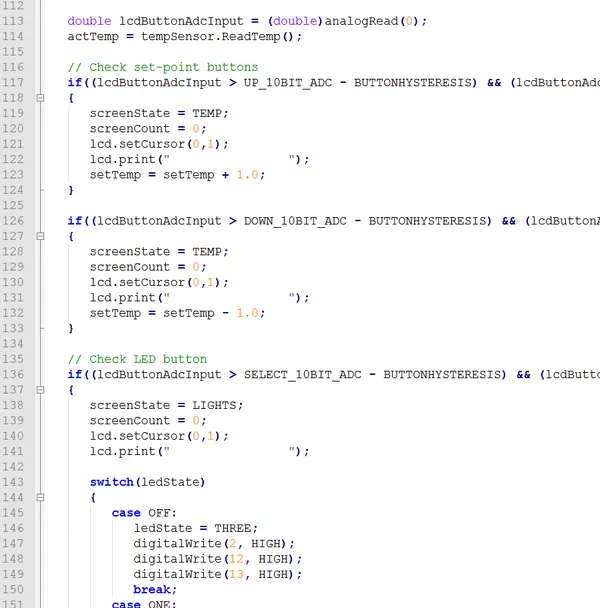
I used C++ and a mega-loop structure. I didn’t see a need for an RTOS, since the control is going to be relatively simple. The below image is part of the mega-loop.
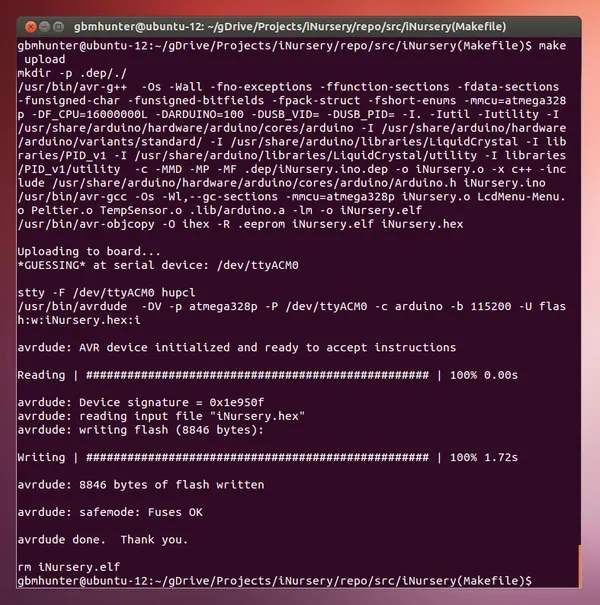
I had difficulty with Arduino IDEs when using custom code sources (which don’t follow the standard Arduino format). Eventually found Arduino Makefile, which gave me the flexibility to use standard .cpp/.hpp files. I was compiling using Ubuntu running in a virtual machine (using VirtualBox).
Peltier Control
The H-bridge driving the peltier needed to be controlled from the Arduino code. Since the peltier unit is pretty much resistive, I didn’t need to use any fancy switching schemes such as those used when driving inductive motors. I just needed to turn top-left and bottom-right MOSFET on, then off, wait a bit (to prevent shoot-through due to turn-off times), and then repeat with the top-right and bottom-left MOSFETs.
In terms of the control methodology, I tried basic on/off (bang-bang) control, but because of the large thermal mass and separation between the peltier unit and temperature sensor, there was too much overshoot. So the decided to use PID control and PWM outputs. Turns out I had just enough PWM pins left over (2, pins 10 and 11) after the LCD shield is connected, and just enough digital pins in total!
For the PID, I used the Arduino PID library. After some testing and tweaking, I discovered I only really needed proportional control if I could deal with a small amount of oscillation (1 degree or so). So no integral of derivative control was added.
UI
The LCD and button shield mounted on-top of the Arduino provided all the UI elements I needed!
LCD
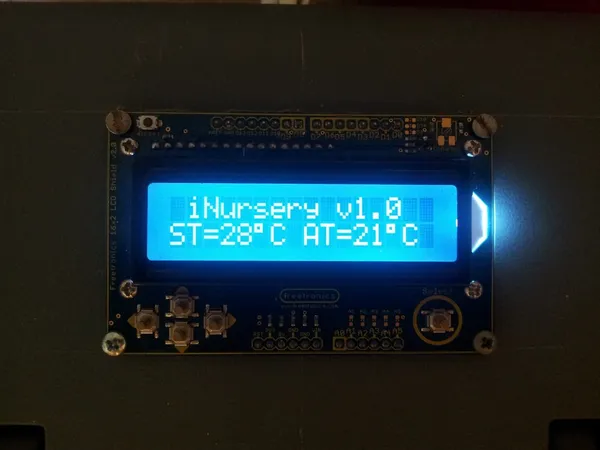
The LCD screen has three things it needs to display, the set and actual temperatures, the current drive state (e.g. heating or cooling, and the percentage of power), and how many lights were on. This was all too much for one 16x2 character LCD display a once, so there are three “screens” the LCD can display. The top row always says “iNursery v1.0” and the bottom row cycles between three states.
The following collage shows the three states the LCD screen can be in. It cycles between these with a change-over period of 2s. Note that “ST” stands for “set temperature” and “AT” for “actual temperature”.
Buttons
The LCD shield came with five UI buttons. Four are directional (up, down, left, right) and one for select. I decided to use the up/down buttons for controlling the set temperature (“ST”) in 1 degree increments/decrements, and the select button toggles through the light levels (0, 1, 2, 3). The left/right buttons are not used for anything.
Connecting It All Up
Luckily, there was some spare space around where the heatsink and existing electronics went to fit the H-bridge, terminal blocks, and extra wiring I had added. It was a bit of a tight fit! Funnily enough, it’s packed so tight that the circuit board can’t move around, even though it is not mechanically fixed with anything!
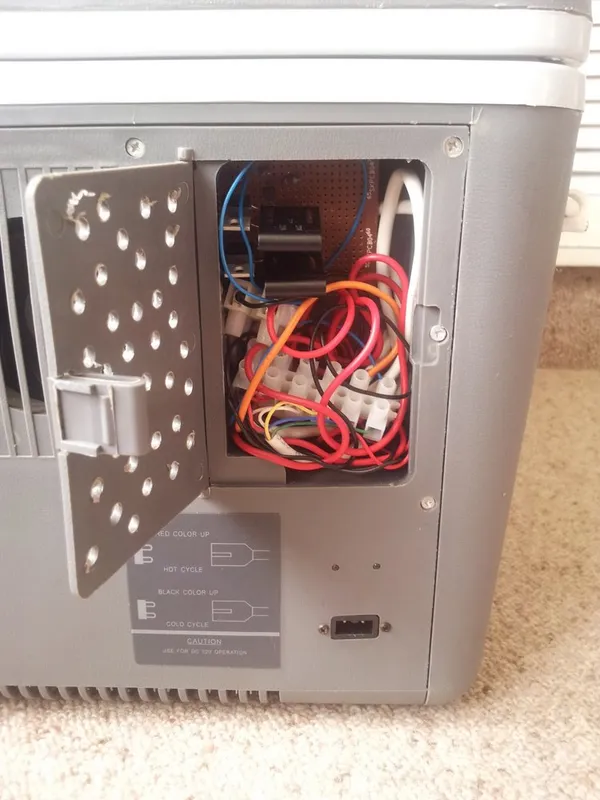
And this is what it looked like with the lid closed…
The Finished Product
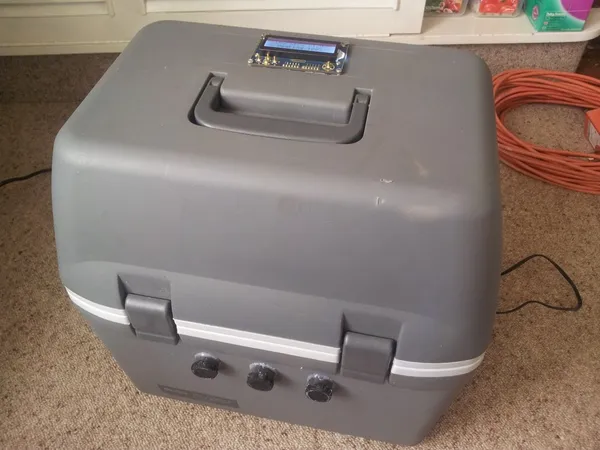
The finished iNursery, when closed!
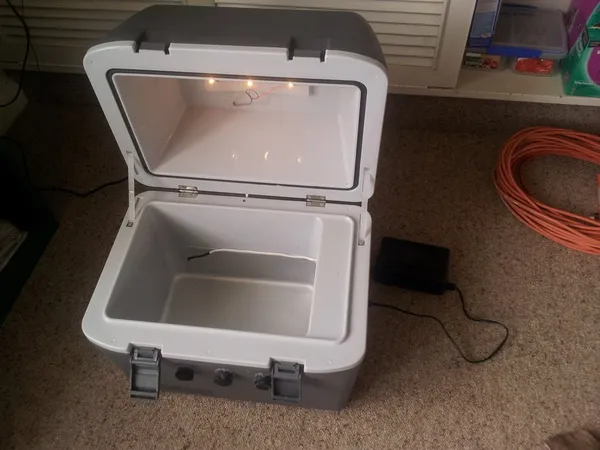
The finished iNursery, when open…
Max And Min Temps
Before Adding Ventilation
- Minimum = 4°C (cooling at full-power)
- Maximum = 36°C (point where the thermostat kicks in)
Note that the ambient temperature was 21°C.
After Adding Ventilation
- Minimum = 11°C
- Maximum = 36°C
Note that ambient temperature was 25°C.
Time
The total time spent on the project was 41 hours.
Cost
All prices are in NZ$ (New Zealand dollars).
The total cost was NZ$166.86.
What To Do Next?
If I ever made another version of improved this one, I probably would:
- Add a window or camera/screen combo so that you can see how the living thing inside is doing without opening it up and messing up the temperature.
- Lower the proportional constant and add integral control into the mix, to reduce oscillations and provide better response over the full temperature range
- Add EEPROM support so if a power-cut occurs it turns back on at the last set temperature (also makes it nicer to use when just turning it on again)


