Making Your Own Cardboard Tubes
Pyrotechnics almost always requires cardboard tubes. Cardboard tubes are not that hard to make and can be stronger than bought ones. Making them yourself also allows you to control the size and thickness of the tube to exactly how you want it. I used this method to make hundreds of tubes with different thicknesses and internal diameters specific for certain pyrotechnic devices (e.g. rockets, mortars, crackers).
Materials
- Thin cardboard (about 100gsm)
- Yellow wood glue or PVA
Tools
- Wooden dowel which has the diametre of the tube you want to make
- Wide tape (must have a smooth shiny surface eg masking tape)
- 50mm wide paintbrush
- 10mm wide paintbrush
- 2 rubber bands
Method
-
First you need to cut the cardboard into the correct sizes. Cut them into strips about 700mm long and as wide as you want your tube to be long. I normally use sugar-grey cardboard which is 695mm wide by 840mm long. I then turn it sideways and cut 695m long strips by 200mm wide. This makes four strips with a bit left over.
-
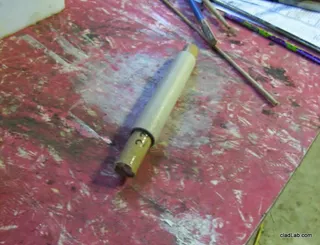
To stop the paper sticking to the dowel you need to cover the dowel with tape. I place the dowel lengthways down the tape and roll it up. If any creases form, unwrap and try again untill you get a smooth slick surface.
-
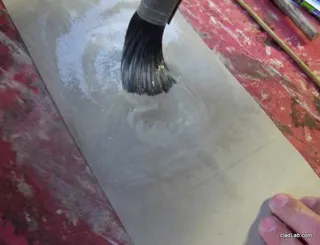
Now lay a strip of paper down on a waterproof surface and cover it with glue. If you are using wood glue add a bit off water to it untill it becomes the consistency of tomato sauce. This helps it spread easier and also makes the glue last longer (wood glue is pretty expensive). I don’t cover the first part of the strip with glue, because this part will be touching the dowel and you do not want to glue the cardboard to the dowel.
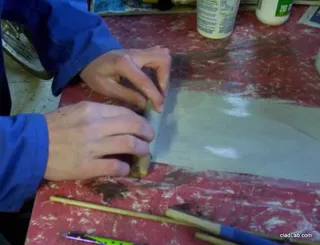
- Take the tape covered dowel and start tightly wrapping the cardboard around the dowel. Do not rush this step otherwise you’ll end up with a deformed tube. The main thing here is to watch that the cardboard doesn’t start telescoping. By that I mean the cardboard is at a angle other than 90 to the dowel and the cardboard starts creeping further down or up the dowel. If this starts to happen force the dowel to straighten up again.
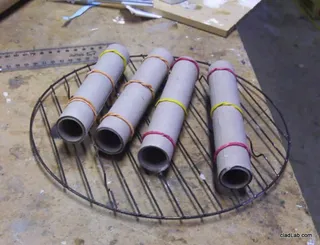
- Once the cardboard has been wrapped around the dowel, roll the dowel along a smooth, hard surface to remove any air bubbles that might be trapped and to remove any creases. Now tie two rubber bands around the tube to stop the cardboard unwrapping before it has set.
- Now carefully pull the cardboard tube of the dowel. It should come of easily. If it doesn’t give it a few hard taps to set it free. Be careful not to squash the tube while its wet. Place the tube in a warm place for at least a day until the glue has set. A good place is on top of the hot water cylinder. These tubes set so hard that you should not be able to squeeze the tube with your hand.


