Yocto Project
| Date Published: | |
| Last Modified: |
Child Pages
Overview
The Yocto Project, or more commonly just called Yocto, is a build system used to create custom Linux distributions for embedded systems.
It is important to note that it is not a Linux distribution itself, but a collection of tools to generate a custom Linux distribution for your specific embedded hardware.
Quick Start
This is a Yocto “Quick Start”, aimed to get you familiar with the basics of the Yocto and building a embedded Linux image in no time!
This quick start has been tested with Ubuntu 16.04 64-bit, running in VMWare on a Windows host (the free VirtualBox VM should also work fine).
Give your VM a ton of hard drive space, memory and processors. You will be building Linux from source code, and this is very resource intensive! I gave the VM 120GB hard drive space (grows as needed), 8GB memory and 8 processors.**
Yocto has it’s own quick start guide at http://www.yoctoproject.org/docs/2.2.1/yocto-project-qs/yocto-project-qs.html. However, I have has problems with this, including errors such as:
E: Unable to locate package pip3
E: Unable to locate package pexpect
Install Prerequisites
Run the following bash command:
| |
Clone Yocto’s poky Repository
poky is a Yocto project release. As of April 2017, this is the most recent release. Run the following command, which should clone poky into ~/poky/.
| |
Checkout The Correct Branch Of poky
Now change into the poky directory:
| |
Switch to the morty branch:
| |
(with new versions of git, this will automatically set it up to track origin/morty).
Initialise Build Environment
Before you can start a Linux build, you need to initialise the Yocto build environment. This can be done with the following command:
| |
After running this command, you should of automatically been moved into the poky/build/ directory.
This command needs to be re-run everytime your environment variables get reset (e.g. everytime you login).
Build Linux
We’re almost at Linux building time! We won’t touch any of the config files for now, and just build Linux using Yocto’s default settings. Run the following command (from the poky/build/ directory):
| |
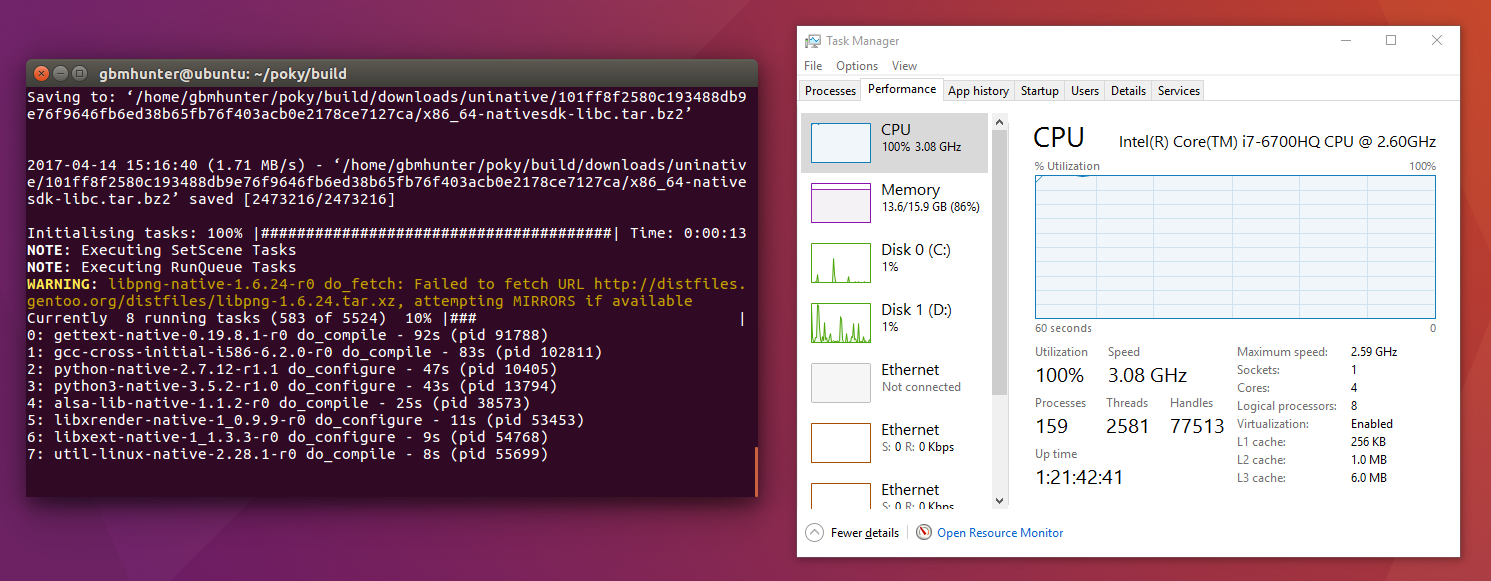
Now go grab a coffee. Or better yet, take your family out to a restaurant for a nice meal. This is going to TAKE A WHILE.
Make sure your computer is not set to go to sleep/shutdown after 1-2 hours of activity, otherwise you might find the build won’t complete!
Yocto will calculate all dependencies, download them, and compile! (make sure you have an o.k. internet connection).
You can safely ignore (usually) most of the orange “Failed to fetch URL…” warnings that pop-up as the build progresses, as Yocto can attempt to download them from other sources.
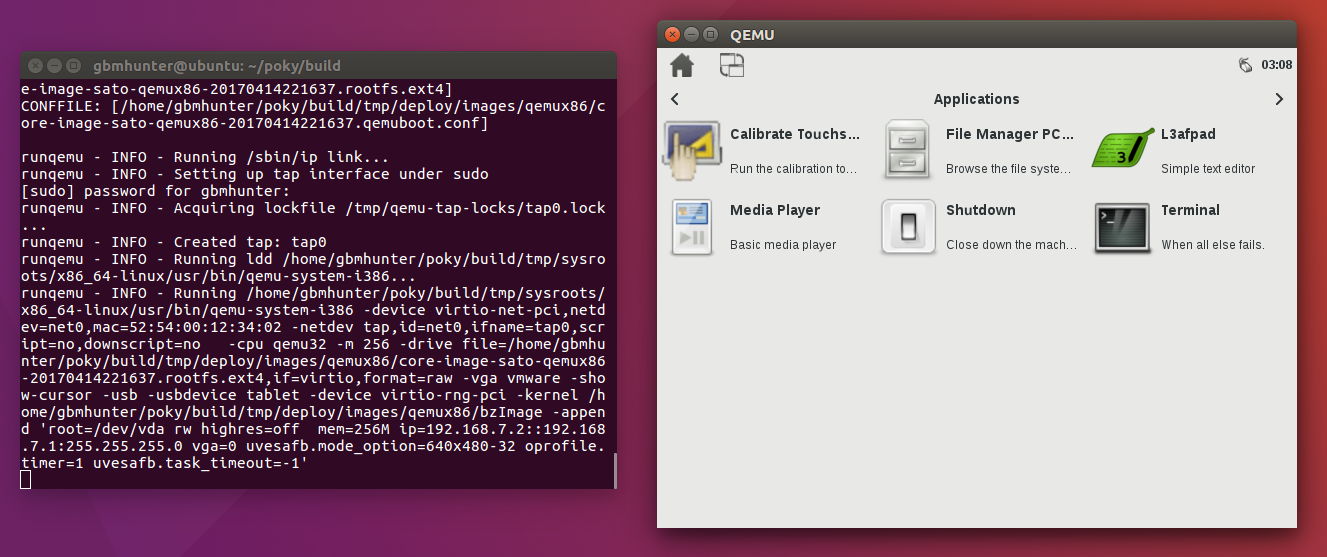
After the build was complete, Yocto had used about 35GB of hard drive memory. The output build images should be in poky/build/tmp/deploy/images/. You can now test out the Linux image you just built by running it in QEMU:
| |
This should load up a separate window, and display a GUI of the Linux image you just built.
The Project Configuration File
The main configuration for a Yocto project is located at poky/build/conf/local.conf.
Moving The Entire Yocto Project Directory Somewhere Else
Moving the entire Yocto project directory isn’t as straightforward as you might think (e.g. moving or renaming the poky folder). Because Yocto stores a small but non-zero amount of information in the project using absolute paths (gasp!), moving/renaming this folder will break a build (assuming a build has already been completed at least once, if not, you’re o.k.!).
You will probably receive an error message along the lines of:
Oh no! I have to rebuild? But that took hours! Luckily, you can fix this without having to do a complete rebuild. Upon receiving this error, open up the poky/build/tmp/saved_tmpdir file in a text editor, and update the path to the new location (the path should be the only thing in this file).
You should now be able to run bitbake … without any errors, and without having to restart the build from scratch.
Disabling sanity Checks
Although not recommended, sometimes it is necessary to disable the sanity checks. This can be done by commenting out the out the INHERIT += "sanity" line from the file meta/conf/sanity.conf, so it looks like the following:
| |
This will disable all sanity checks, including:
Do not use Bitbake as rootError, TMPDIR has changed location- The
TMPDIR: <path> can't be located on nfs.
Authors


This work is licensed under a Creative Commons Attribution 4.0 International License .